ComfyUI Tutorial Inpainting and Outpainting Guide
1. Inpainting Examples:

- Setup:
- Start by downloading the provided images and placing them in the designated ‘input’ folder.

- Masking Image:
- In our sample, a section of the image has been set to alpha using tools like GIMP. This alpha channel functions as the mask for inpainting. If you’re using GIMP, remember to retain the values of the transparent pixels.
- Alternatively, ComfyUI comes with a built-in mask editor. You can access it by right-clicking on an image in the ‘LoadImage’ node and selecting “Open in MaskEditor”.
- Workflow:
- To understand the process, simply load the given examples in ComfyUI. The workflow provides step-by-step demonstrations.
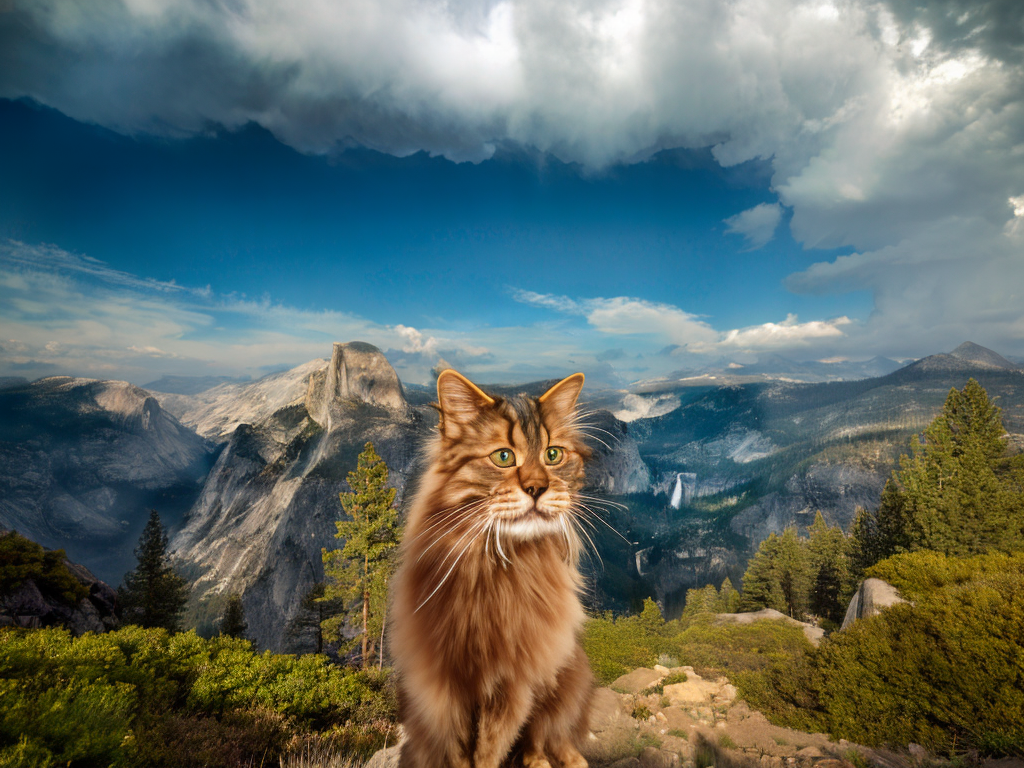
- For instance, to inpaint a cat or a woman using the v2 inpainting model, simply select the respective examples.
- For versatility, you can also employ non-inpainting models, like the ‘anythingV3’ model. An example is provided for clarity.
- To understand the process, simply load the given examples in ComfyUI. The workflow provides step-by-step demonstrations.

2. Outpainting Examples:

- What is Outpainting?
- Outpainting is similar to inpainting. However, instead of filling in missing parts, it’s about expanding the image content.
- Setup:
- For this tutorial, utilize the provided image which we’ll be outpainting.
- Workflow:
- To automate the process, ComfyUI offers the “Pad Image for Outpainting” node. This node pads the image and creates a suitable mask for outpainting.
- As an example, using the v2 inpainting model combined with the “Pad Image for Outpainting” node will achieve the desired outpainting effect. Load the example in ComfyUI to view the full workflow.

By following these steps, you can effortlessly inpaint and outpaint images using the powerful features of ComfyUI.